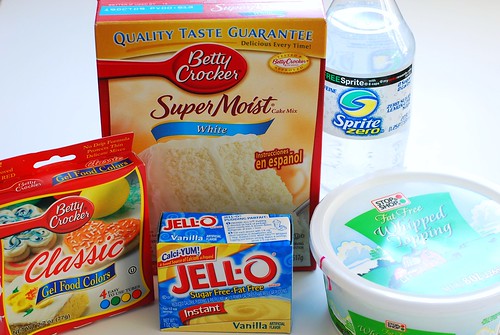
So yes there are people that refuse to do cupcakes because "they are too damn hard to frost!" Really? Hmm, well here is the cake version of these wonderful cupcakes. Okay, on with the ingredients.
That’s all. Notice the lack of fat in here? Mmmmmm . . . chemicals. Though I don’t need to defend my method thanks to the double-dub (WW) aspect, even when I make a “real” cake I usually use box mix because let’s face it: Betty’s been doing it way longer than I have, and has pretty much perfected the art.
Pour
a can of soda (12 oz) 2-12 oz cans of soda into the
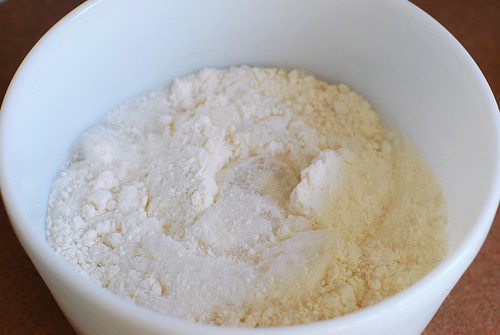
cake mix two boxes of cake mix. No eggs, no oil, no water, no sweat.
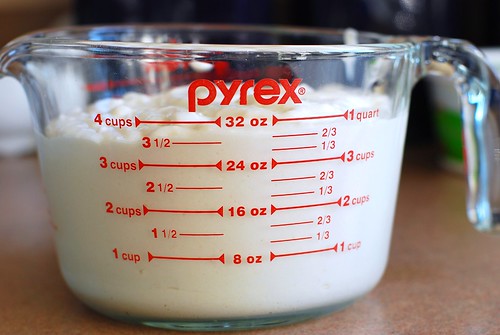
The action shots weren’t too thrilling. Now we measure it.
I’m going to round to
30 oz 60 oz because I have six colours and isn’t that just too convenient? It worked out to
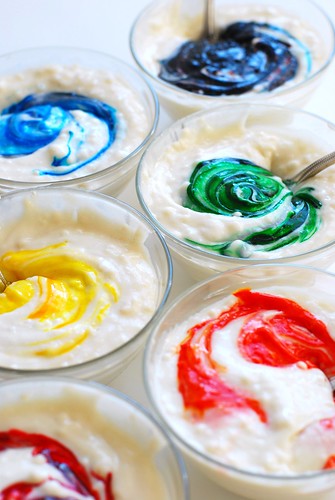
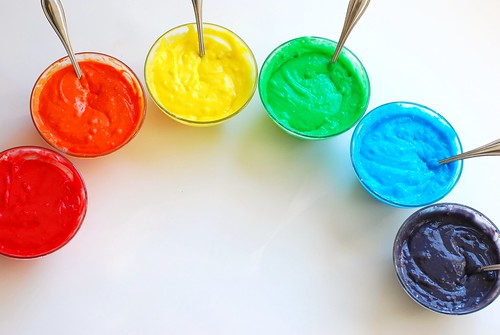
3/4 c 1.5 c per colour, measurementwise. So I divvied that up and used my gel colours.
(the gel colours, while not as good as pigment dye, are much bolder than the very liquidy food colouring you probably grew up with)
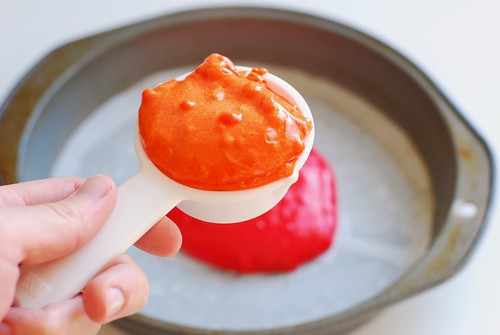
The first colour you drop into the pan, use about 2/3 of the mix for that colour. Otherwise, the top (last) colour will really dominate. I used a heaping
1/4 c 1 cup of each colour.
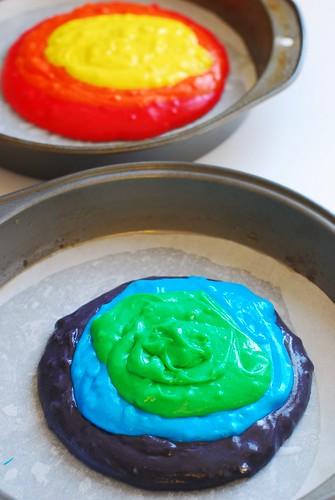
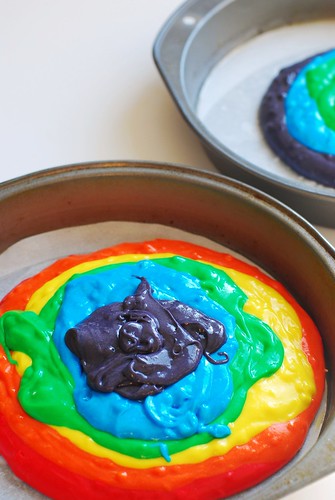
Drop the colours, one by one, into the middle of the pan, in neat concentric-ish gobs. Remember the cake is going to be sliced in the side there, so mixing it around on top isn’t going to make your slices any more psychedelic (trust me, I did the three-dimensional thinking for you already).
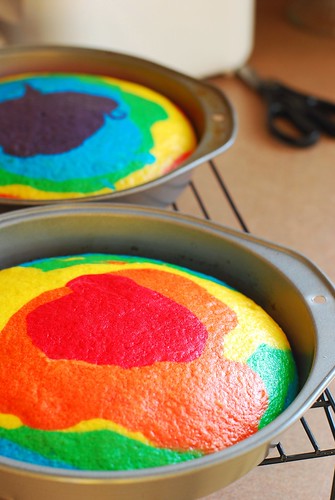
When you’re three colours in, start doing the reverse with the other pan. Since I’m going in rainbow order: red, orange, yellow, green, blue, purple, I got from red to yellow in the first pan, then purple, blue, green in the second. This is so that your two pans are equal if your measurements aren’t exact (and they’re not likely to be).
Now finish up.
Follow the box’s baking instructions and do your dishes.
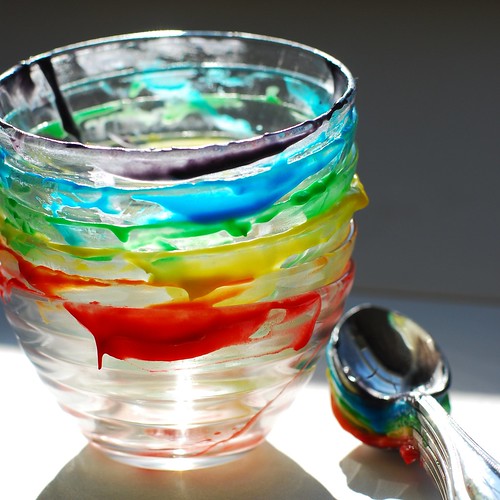
Such lovely dishes!
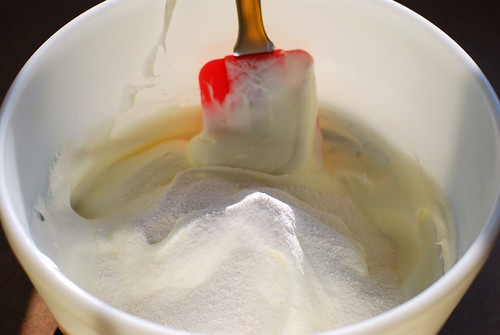
Now for the frosting:
1 box 2 boxes of fat free sugar free pudding mix, and
8 oz 16 oz (two of the 8 oz tubs pictured) of fat-free whipped topping. Or sugar-free. Or light. Or regular. They’re all pretty much the same. But that’s it.
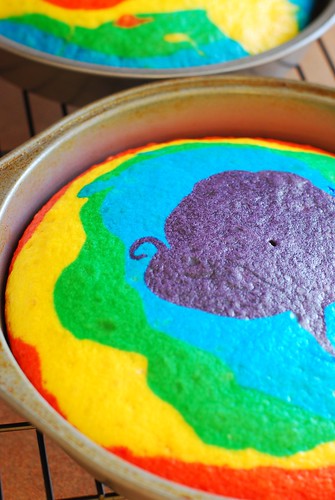
Holy shit, the cake’s done! Toothpick clean and everything! Get that shit out of the oven!!!
The purple top kind of made a little turkey silhouette.
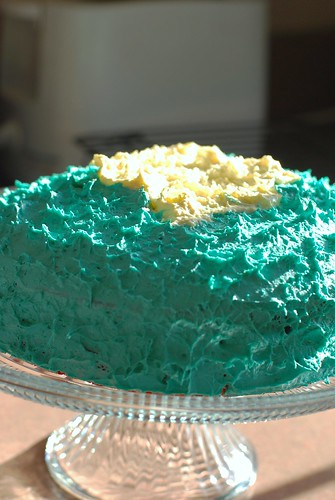
The frosting will be a little tough to spread, so treat it like a buttercream (I guess, I’ve never frosted a cake with buttercream). Putting gobs all over, then smoothing in worked well for me.
And look at that thing! It’s so pretty-lookin.
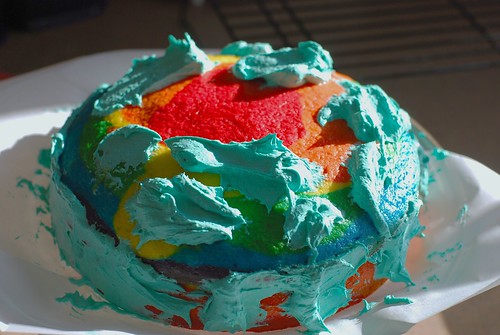
Here’s what this particular cake looked like. See how it’s tiny and too rounded and it kind of isn’t all that great? That’s because I didn’t double the recipe. It’s a mistake I’ll only make once.
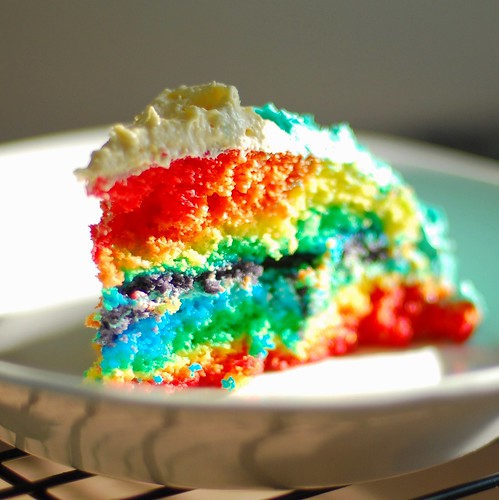
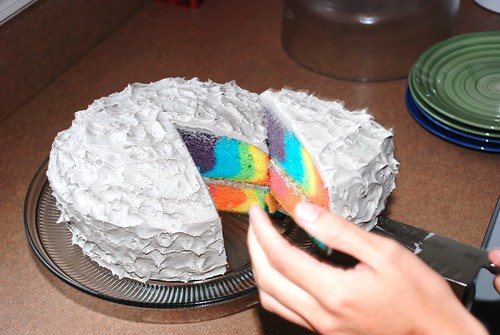
Here’s what that really should look like: same process, twice the batter.
Mmmmm.
Sunny Day Rainbow Cake
2 boxes white cake mix
24 oz of clear diet soda (2 cans, ginger ale and sprite work well)
gel food colouring
16 oz whipped topping
2 oz instant fat-free sugar-free pudding mix (2 smallish boxes)
The Dieting
Mix the cake mix with the soda according to regular instructions on box. It will be lumpy afterward. Again, you can use any white cake recipe you want, this is just how I do it.
The Rainbowing
Measure the total volume (by my estimate, 64 oz), then divide by 6 and measure into separate bowls. There are 8 oz in a cup, so 64/6 = 10 to 11 oz, or 1 cup + 2 tbsp.
Stir colour into each bowl with its own spoon. For the first colour into the pan, measure out 2/3 to 3/4 of your mix (in this case about 1 c) as close to the middle as you can. Drop in your first three colours, then work on the other pan with the last three colours. So if you’re doing rainbow order, the first pan should have red, then orange, then yellow, and now the purple, blue and green go into the second pan. As a recap, this is so both layers are roughly the same size.
Bake the cake for however long the box tells you to bake it. Check it when the box says to, but
usually it’ll need an extra 5 or 10 minutes or maybe more because of the density of the soda method. Just keep baking, checking back every 5 minutes or so until a toothpick to the center comes out clean. Let cool completely before moving to a wire rack.




 Posts
Posts


